Mr. KK and I both come from Italian families. On both our mothers’ and fathers’ sides, all Italian.
When we started dating approximately one million years ago, we would compare the Italian traditions our families had. While some were the same – fish only on Christmas Eve and ham pie on Easter – we discovered that while both families were Italian, there were different recipes and traditions each followed.
First, Mr. KK’s grandmother would put hard boiled eggs in her meatloaf and top it with bacon, while our meatloaf was unstuffed and naked on top. My grandmother would put pepperoni in her escarole and beans, and Mr. KK’s family made a no-meat version. Mr. KK’s family enjoyed basket cheese on Easter (eaten sliced with salt and pepper?), while my family put the basket cheese in the Pizza chiena (aka: Italian ham pie).
In sharing our families’ traditions, Mr. KK told me how his grandmother would make pasta with anchovies. Prior to this courtship, anchovies were not part of my food repertoire (unless you count the ones in caesar dressing).
Fast forward a bunch of decades, and I’m listening to Ina Garten’s podcast “Be My Guest”, and she has Bobby Flay coming to visit her in the barn to chat and cook. And what does he make for Ina after they talk, pasta with anchovy butter!
It just so happened that I found myself with an open can of anchovies with two missing (that I had used for a salad dressing); what better way to use them up than in a delicious pasta.
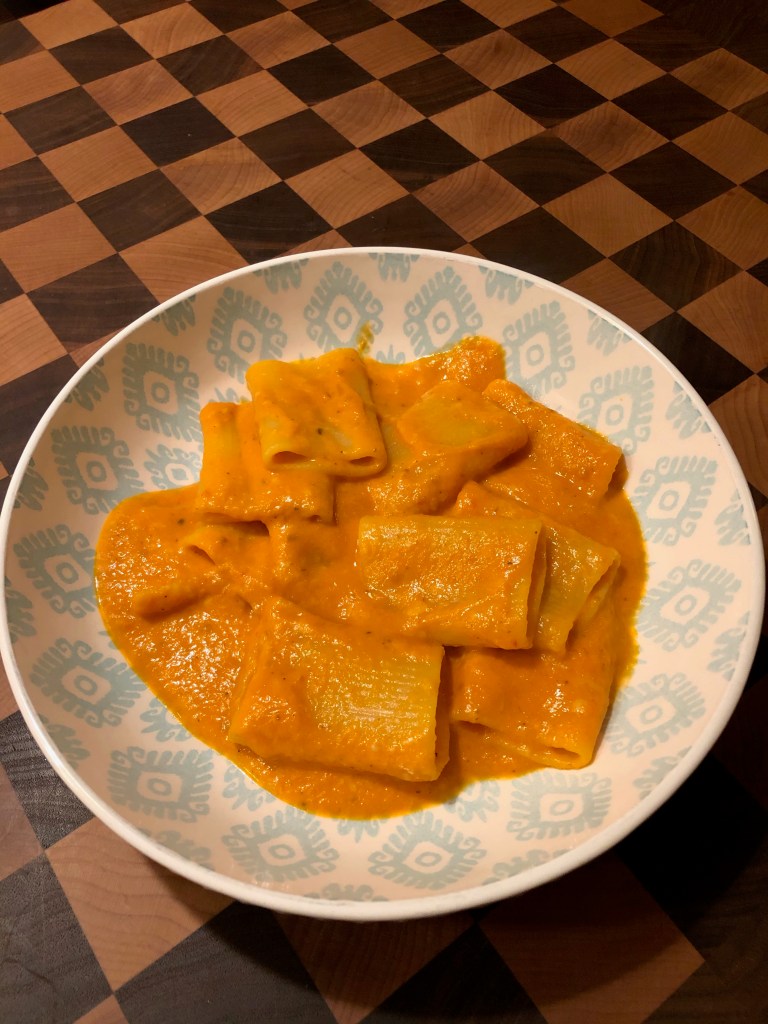
Bobby Flay’s recipe was a little more complicated, involved a food processor that would be caked with butter and impossible to clean, and used fettuccini. I used his recipe as a guide, but modified it to be less labor intensive, and to use fresh pappardelle pasta, one of my personal favorites.
Pasta with Anchovies Recipe
This pasta dish is easy to make with just a few ingredients. Serves 2.
Ingredients:
1 stick of unsalted butter
8 anchovy fillets (removed from oil)
9 oz fresh wide pasta (I used pappardelle, but fettuccini works too)
Lemony breadcrumbs (recipe below)
Lemony breadcrumbs:
1 Tbsp unsalted butter
1 Tbsp olive oil
1 clove of garlic, minced to a paste
1/2 cup panko breadcrumbs
Zest of one lemon
Salt and pepper to taste
Directions:
Make the lemony breadcrumbs. Melt the butter and oil in a small frying pan together. Add the garlic and stir until fragrant (don’t let it burn!), then add the breadcrumbs and stir until coated. Continue stirring and toasting until golden brown. Add lemon zest and stir. Let cool.
Bring a large pot of salted water to a boil for the pasta. Once water is boiling, start melting the butter.
Melt the butter in a large frying pan and add the anchovies. As the butter melts, break up the anchovies with a wooden spoon or spatula. Add the pasta to the water. Fresh pasta usually only takes minutes to cook. Once cooked add pasta to the butter and anchovies and reserve a cup of pasta water.
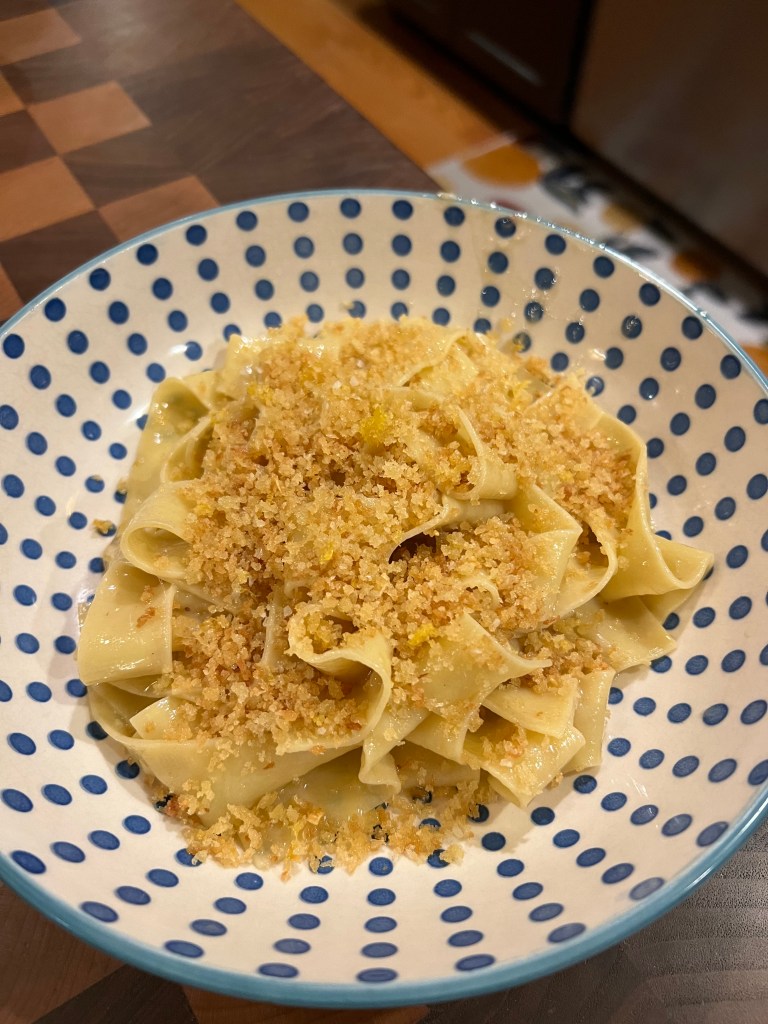
Toss the pasta with the butter until evenly coated. Add a small amount of pasta water to help coat the pasta. Divide pasta into two shallow bowls. Top with breadcrumbs.
***
If you’ve never had anchovies I suggest you try this. It’s not fishy and has more of a rich, salty taste.